solarismon
Simple RaspberryPi based Solaris RPS3 Solar Heating System Monitor
The goal of this project is to monitor the behavior and afterwards optimize the settings of a Rotex Solaris RPS3 solar heating system with the least possible efforts.
Therefore a few existing hardware and software components and an already up and running linux home server where utilized.
Components
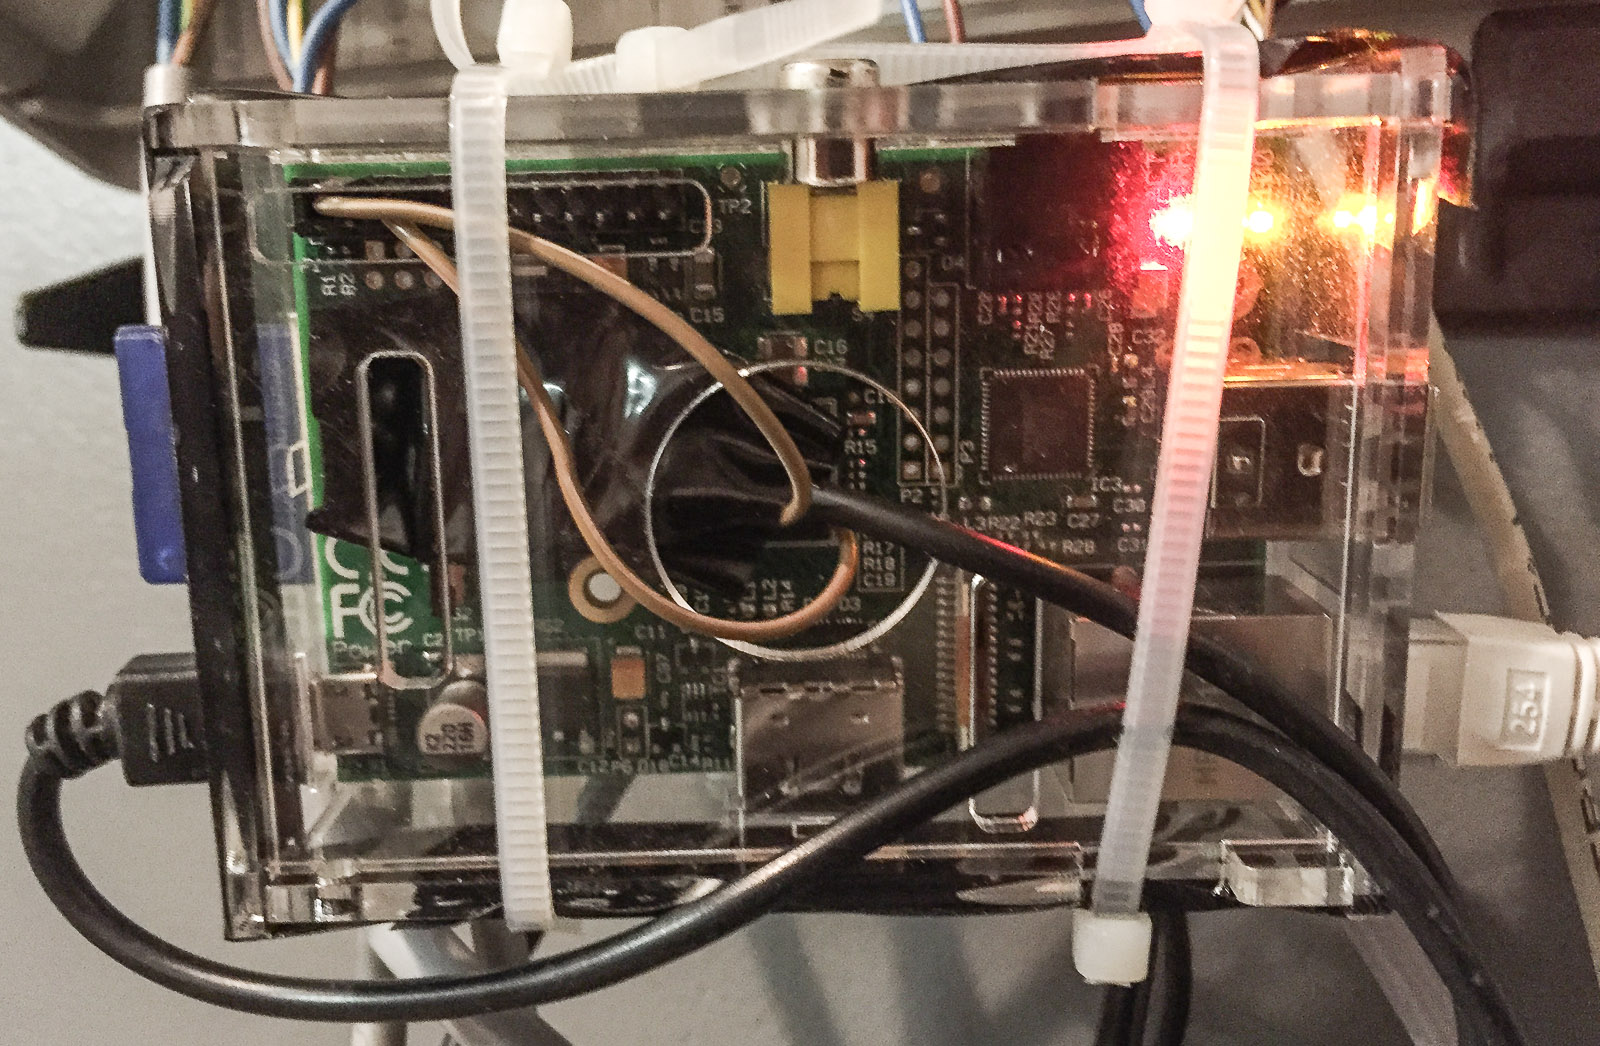
- a RaspberryPi receives the serial output of the Rotex Solaris control unit (CONF connector, 3.5mm stereo jack).
- a JavaScript program running on the Pi, handles the data, does some simple conversions, writes the data to log files and finally generates a MQTT message for every received measurement
- this MQTT message is transferred to a Mosquitto MQTT broker running on the linux home server.
- an OpenHAB home automation server running on the same linux box is configured to receive the MQTT messages. It is the task of openHAB to store the measured values in a round robin database and to visualize them. The openHAB server is accessible via a browser in the local network, but nice smartphone client apps for android and iOS are available as well.
I'm pretty sure that it would be possible to run the openHAB and the mosquitto MQTT broker on the RasberryPi also, but installing them on the available linux box with less limited resources than the Pi was promising less efforts in installation.
Hints
-
Serial Connection: The three contacts of the 3.5mm stereo jack are:
Tip: Solaris TX connected to RX of the RaspberryPiRing: Solaris RX not used-
Sleeve: GND connected to GND of the RaspberryPi
The serial voltage level used by the Solaris heating system controller panel is 5V, whereas the RaspberryPi uses 3.3V. Hence a level shifter is needed. In my case, a simple 2 resistor voltage divider works fine. Activate the Solaris data output of the RPS3 module as described in the rotex manual. I selected a transfer interval of 30s and a baudrate of 19200.
Node.js init script: If you want to have your Node.js application automatically started on every RaspberryPi reboot, an init script like this one https://gist.github.com/peterhost/715255 may be used.
Since /bin/sh is a softlink to /bin/dash on my Raspbian linux, the script did not work as expected, so I had to replace #!/bin/sh with #!/bin/bash in the first line of the script.-
openHAB configuration:
Some example openHAB configuration files (items, persistence, sitemaps) are located unter the "openhab" directory in this repository. They define items (measurement values), their graphical representation in the openHAB clients and their persistence strategy. Don't forget to activate and configure the MQTT binding, as described in the openHAB configuration wiki. For me, changing / uncommenting the following two lines ofOPENHAB_HOME/configurations/openhab.cfgwas sufficient.mqtt:tux.url=tcp://tux.home:1883 mqtt:tux.clientId=openHAB
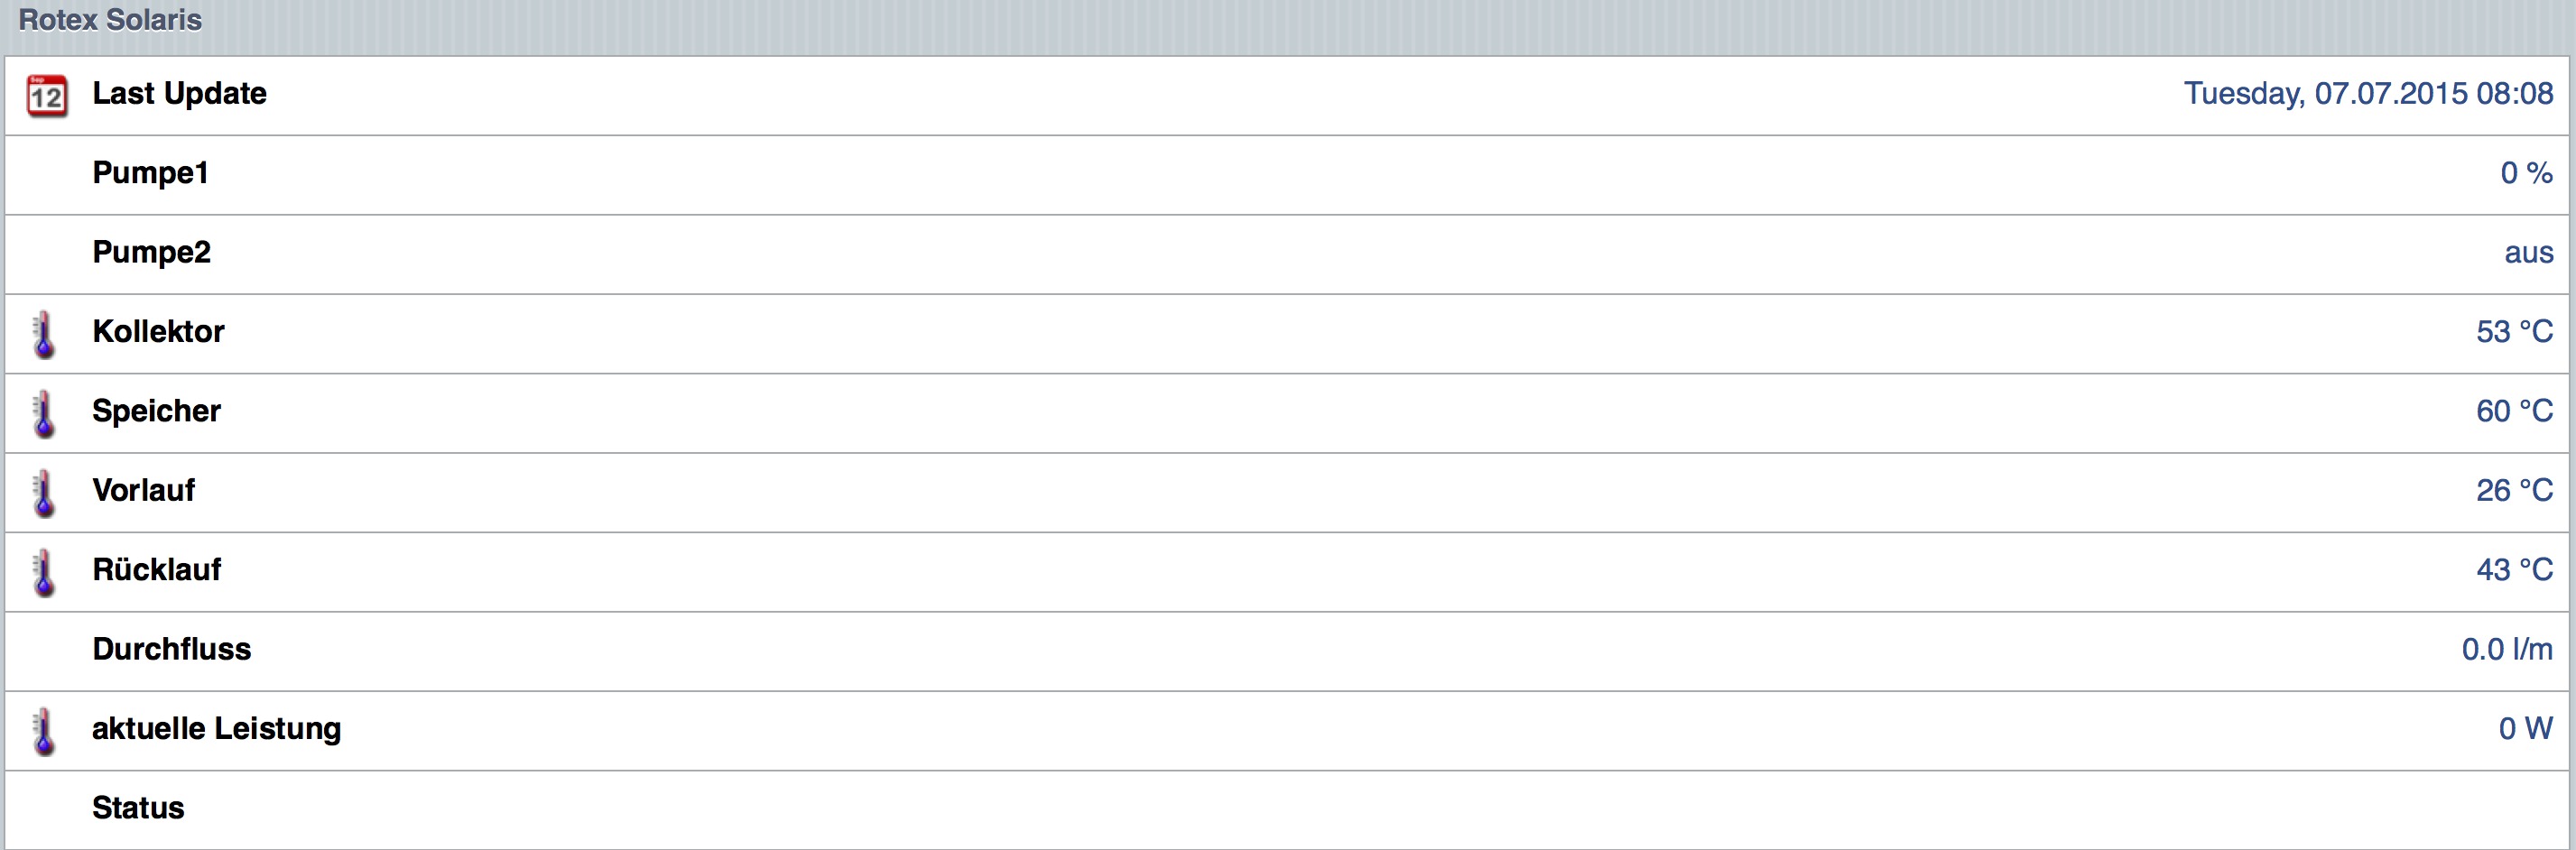
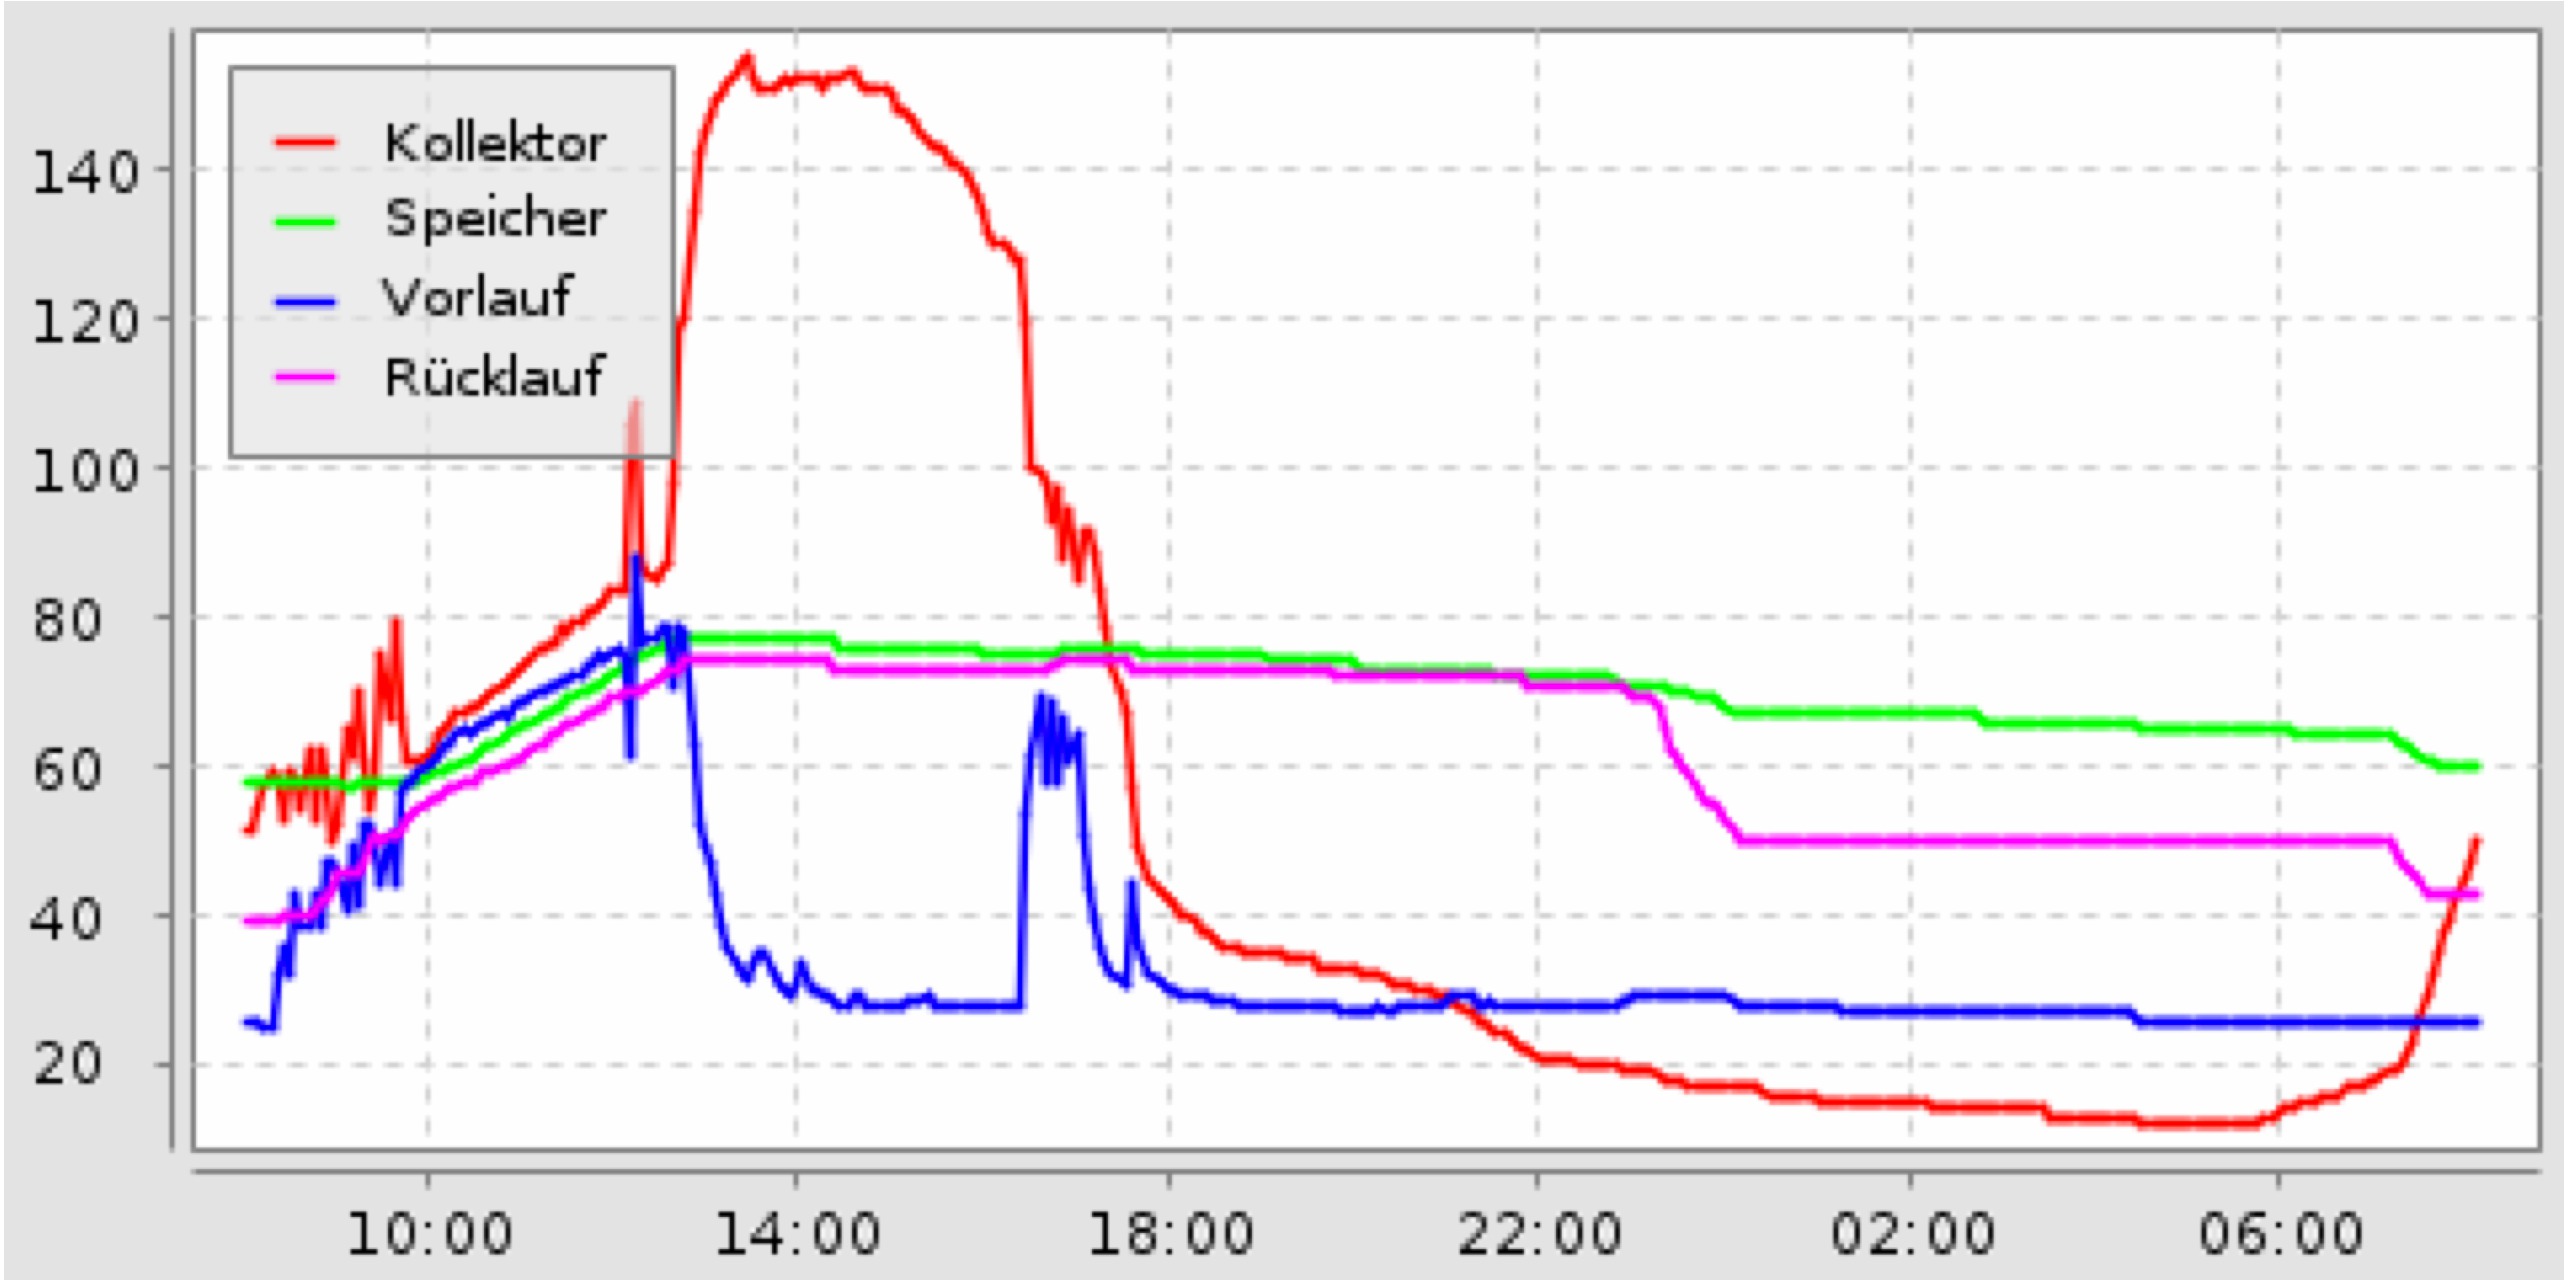
Screenshots
A few openHAB screenshots
Images
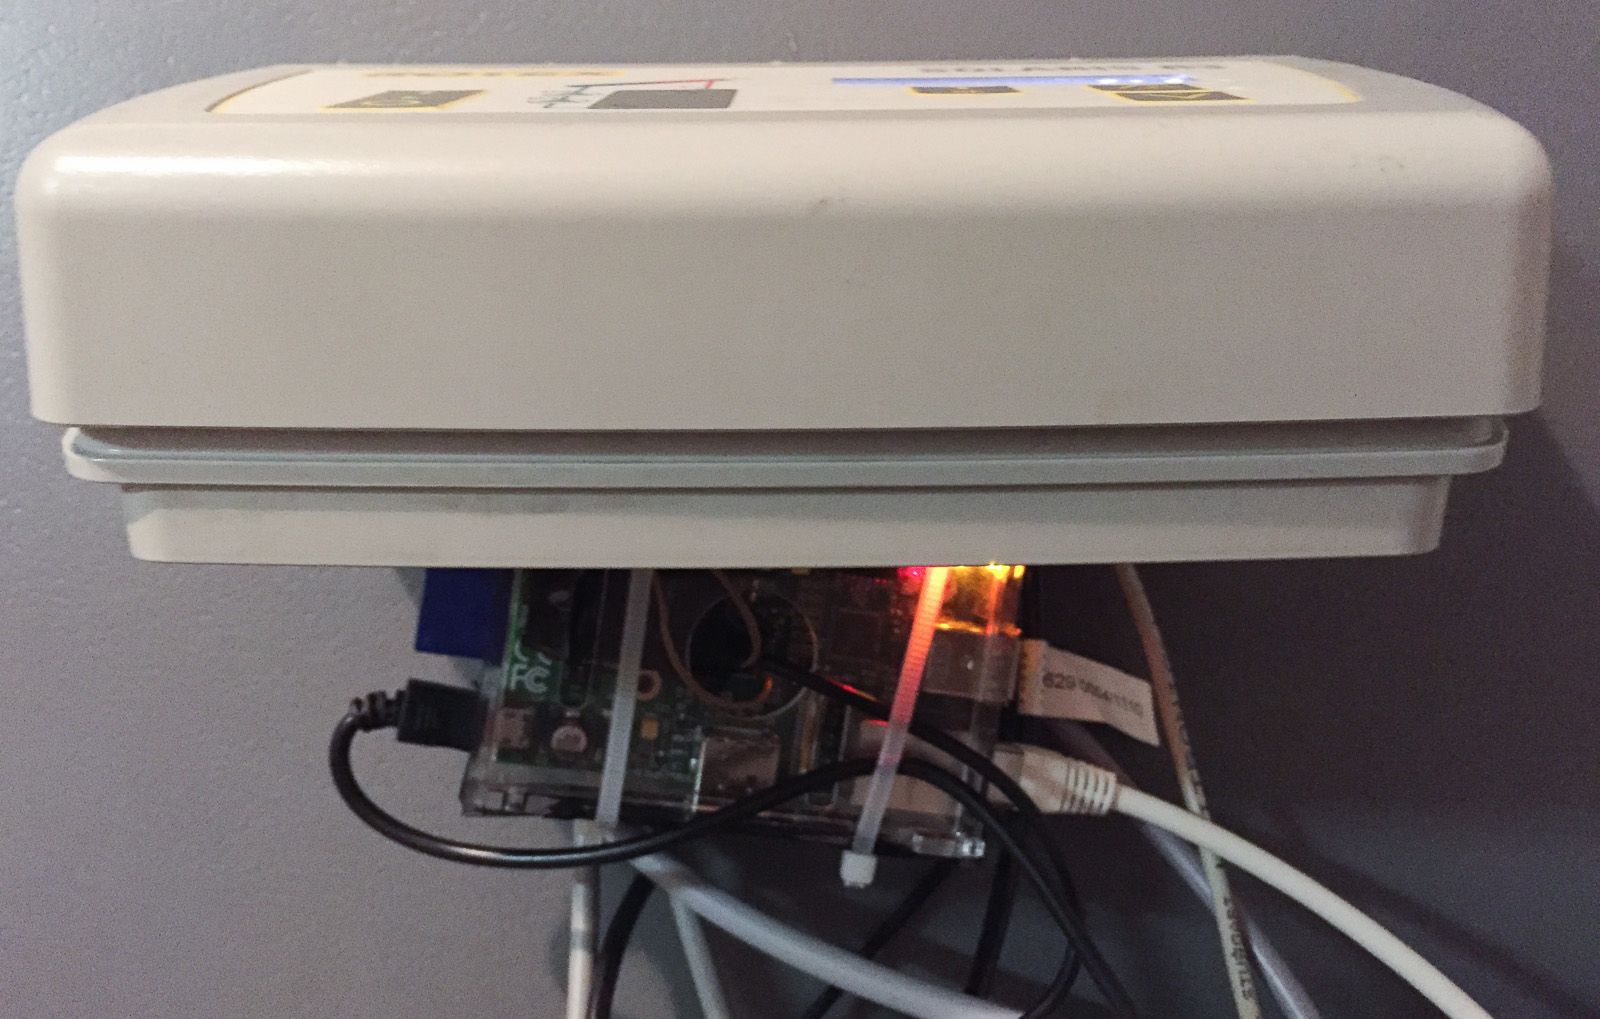
Here are some images of the installation of the Raspberry pi into the Rotex Solaris Console: